Bicycle chain and how to replace it
The bicycle chain is exposed to extremely unfavorable conditions such as water, dirt, and dust, which accumulate between the links, increasing the wear and tear on the chain and eventually leading to its replacement, which is why the chain is a consumable item. The service life of a chain depends on many factors, such as riding style, the weather conditions in which the bike is used, how often it is serviced, and what oils are used for lubrication.
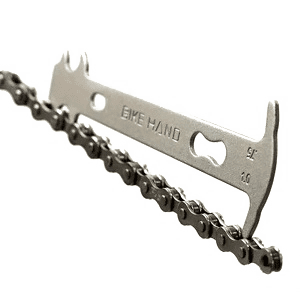
All things being equal, usually after 1,500 kilometers of use, visible riding problems will start to appear, such as worse gear shifting, noise, clicking, and chain slippage. You can slow down chain wear by monitoring the condition of the chain, such as cleaning the chain regularly, lubricating it, and occasionally checking it for wear with the Chain Wear Indicator. The device is not difficult to use and is accurate enough to determine when to replace the chain.
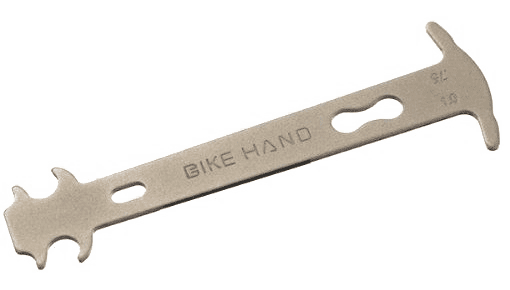
One manifestation of chain wear is chain elongation. This is due to the wear of pins and bushings, which leads to an increase in the distance between the chain links. Different chains have different wear limits, so the amount of chain wear can vary greatly. For example, on transmissions from 6 to 10 speeds inclusive, you should be guided by 0.75% on the chain wear indicator. If the indicator is parallel to the chain (as shown in the illustration, i.e. completely placed between the links), the chain must be changed. If the device is parallel to the chain with an indication of 1.0%, both the chain and the cassette must be replaced. In the figure, the indicator shows 0.75% and 1.0% wear respectively.
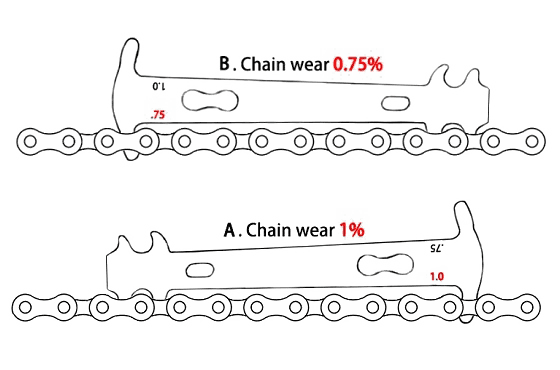
For drivetrains with 11 to 13 speeds, the 0.5% figure on the measuring tool should be used. The chain section to be measured must not include a quick-release chain link and it is advisable to measure in several places.
The chain is not worn out if the indicator is above the chain.
If you miss or ignore the time of replacement, you can end up with expensive repairs in the form of replacing the cassette and chainrings. It is therefore recommended that the chain be cleaned and oiled regularly. Lubrication is usually enough for 120-160 kilometers. After you have lubricated each roller, you should wipe the chain dry with a soft cloth. If this is not done, the excess oil not removed from the chain will attract dirt and dust like a magnet and this will hurt both the chain and the cassette, which will cause their increased wear.
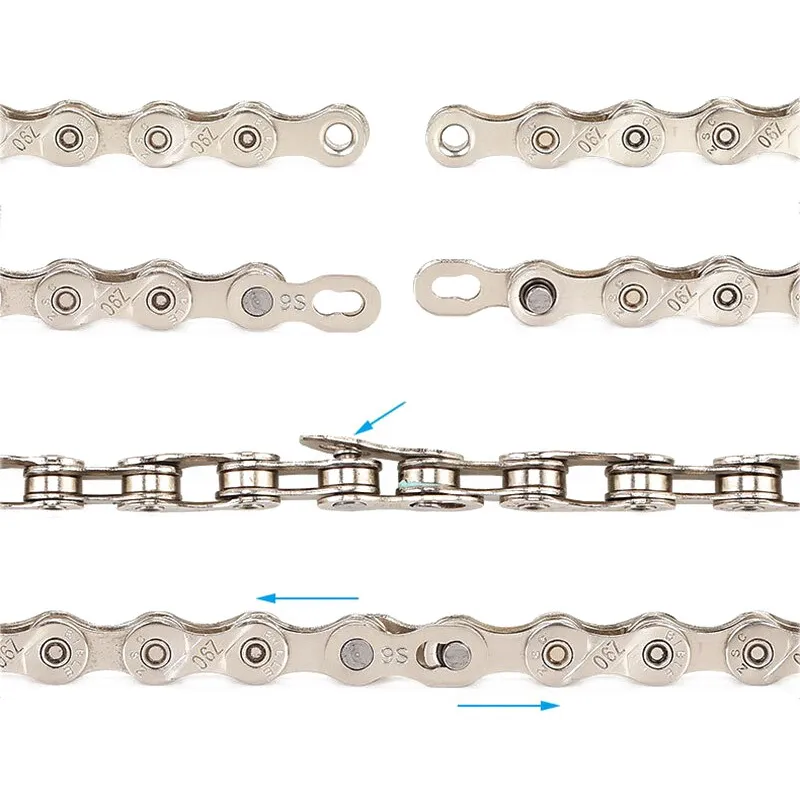
To maintain the chain, it is necessary to know how the chain is constructed. A bicycle chain consists of an outer and an inner link. Each link consists of two plates. The plates of the outer links are fastened together by pins passing through the bushings of the inner links.
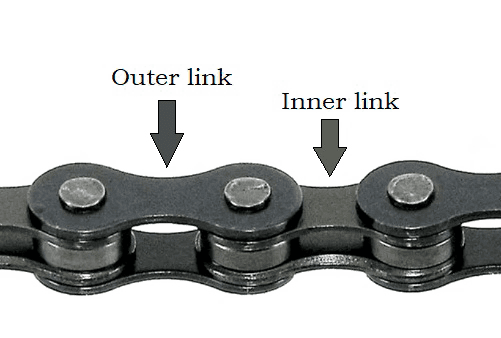
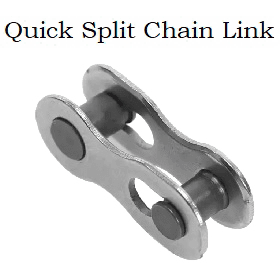
The ends of the chain are fastened either via a connecting pin or a quick-release chain link.
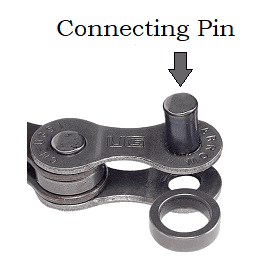
As a rule, the connecting pin is either black or brown in color, so it is easy to identify it on the bike chain.
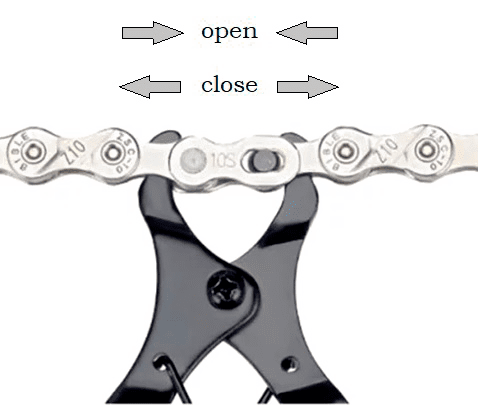
Now for the replacement of the chain itself. 1. Transfer the chain to the small rear sprocket. If the chain contains a quick-release link, open the chain by this link. This can be done by hand, but it is better to use a master link tool or pliers.
If the chain does not contain a quick-release link, use a chain rivet removal tool.
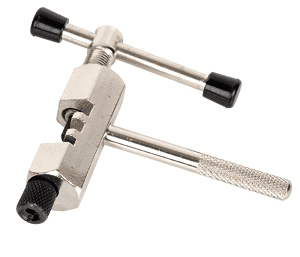
After removing the chain, you must decide on the length of the new chain. Why is this important? Firstly, the length of the chain affects the clarity of gear shifting, and secondly, an incorrect chain length can lead to damage. A long chain can come off at the most inopportune and crucial moment or cause the shifter to break. A chain that is too short will increase the load on the chain and will almost certainly lead to derailment of the derailleur or derailleur suspension. In the case of a fixed derailleur suspension, this will inevitably lead to a difficult repair or frame replacement.
There are several approaches to determining chain length, depending on the type of suspension, frame geometry, sprocket system and cassette size. Here are some of them, aka the most common: 1) If you drove on the old chain before it was replaced, and the operation of the chain did not cause you any complaints, then we leave the number of links on the new chain that is on the old chain; 2)The next method of determining chain length can be called the big-big sprocket method. The method is not complicated but depends on several factors, which are described later. One end, let's call it the starting end, starts at the inner link. We pass the chain through the large rear sprocket and through the large front sprocket while bypassing the derailleur. Mark the place where the two parts of the chain are connected and make sure there is no slack in the chain. Make the mark on the side of the chain opposite the starting link. Consider a bicycle without a rear shock absorber. Pay attention to the following factors: a) if your bike has two or three sprockets in the front, then add two links to the mark, pay attention to where the chain ends when adding two links, if the outer link, then add the next inner link. This is done in order to connect both ends with a quick-release chain link; b) one sprocket at the front, then add four or five links to the mark, also paying attention to where the chain ends (it must end with an inner link). Now if the bike is equipped with a rear shock absorber and you don't want to lower the suspension, then add five to six links to the mark. However, it is recommended to lower the suspension, compress it and in this condition add two to three links to the mark.
